Saturday, September 8, 2012

Jean Independence day - Not yet.

As promised next up on the sewing agenda was my version of Sewaholic's Thurlow Trousers 1203 but in the shorts (view B) version (confused? Me too). 

I loved Tasia's sample pair of stretch denim trousers as seen in her pattern introduction post, in fact these inspired me to make my own version and hopefully kiss goodbye to the dreaded task of trying on hundreds of pairs of jeans and never quite being happy with the fit. 

The first step in the process of what I will from hence forth call Jean Independence, is testing this pattern out on my lumps and bumps. I decided to go ahead with the shorts first to gauge fit, before cutting into the 3m required to make the trousers. I never quite fall into any perfect size chart. On normal patterns I am a 10 bust and 12-14 (usually 14) waist and hips. In sewaholic Patterns I am 6-8 bust, 8 waist and 6 hips. I decided to go with size 8 as I was concerned the 6 might be too snug around my waist. I also decided to skip the welt pockets on the rear and forgo the belt loops as I won't be wearing a belt with these shorts. I used a cotton sateen I picked up from spotlight for the main fabric (not sure about this choice as I have never sewn with this type of fabric before) and for the lining I am using a funky fabric called Foal Cotton, Poplin Magic.  The colour is a dark grey (and hard to photograph), so I thought this would be a good neutral colour to team with heaps of T Shirts and button down shirts (that I will make soon, haw haw).

The first few steps in the pattern making process are to do with assembling the front pockets, can I just say that this went together like a dream, so perfect and looking so damn professional. I did sew 2 rows of stitching at the base of my pockets as I am pretty rough with them being a hands in pockets kinda gal. 

Dual stitching lanes!

Front pocket detail.
Once I hit the fly it was kind of all downhill from there. As I have said before I am fairly new at sewing garments and this is most definitely my first ever pair of shorts/trousers that have included a fly. In all fairness to Tasia and the (intermediate level) pattern, the department that was lacking was me. I am sure that the instructions would be adequate if you had sewn a more basic pair of pants with a fly or mock type fly before or just had some sort of idea of how the fly comes together, and I am sure that an intermediate sewer would know this. Now I have made these once and have a feel for it, I am sure the second pair will be quicker and easier. 

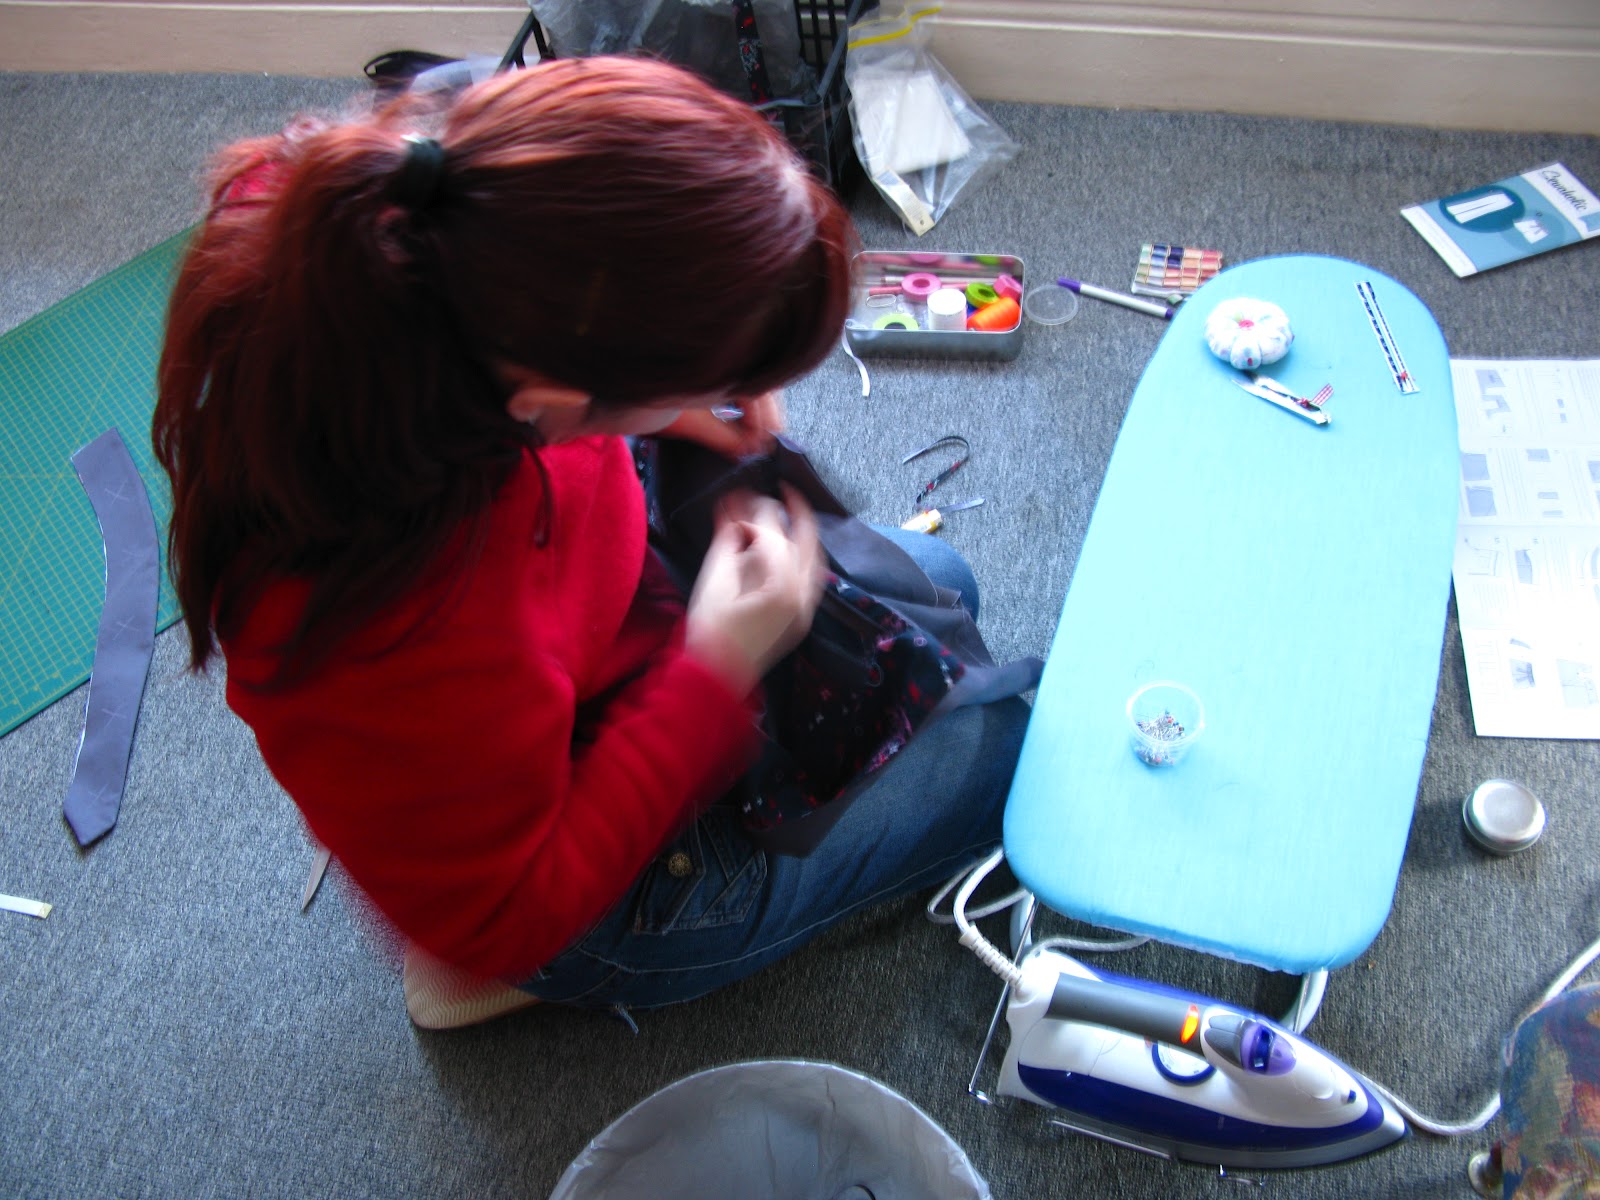
Help I am out of focus and out of my depth!!!!
(I don't normally pin and iron on this little board, in my lounge room but hey a change is as good as a holiday!)
Moving on my other issue was the fit, they are wayyyyyy to big. I ended up redrawing the sewing line at the rear from the bottom notch, angling it out to 1 inch from the original sewing line. This equated to taking 2 inches from the waist. I am not 100% happy with the look from behind (ha ha) but I am sure that is to do with the amount of fabric taken out and most likely the way in which I did it (and quite possibly the actual size of the rear) .  Next time I will make a size 6 and possibly still have to take some from the waist but I think the end result will be a better looking bottom!!! i might also consider ironing!!! 

Bottom too big? (mine that is)
All in all I think an advanced beginner would be able to handle this no problems if they had had some kind of trouser/fly experience or someone to refer to for help.


The finish ended up not too bad, certainly fine to wear at home or if brave duck up the shops for bread.

Any thoughts? Feel free to advise on all I did wrong and suggest improvements if you have any ideas.
I still love this pattern and plan on continuing with Jean Independence, but I might try a basic pair of pants first. Or hope Tasia does a tutorial on all the bits I got wrong (ie the whole thing).

On a brighter note here is a peak at my next project ......


 Have a great weekend!!

Dana


Wednesday, August 22, 2012

The Original Iris


In my last post I promised you close up details of my Lisette Twill Iris Shorts....... This is not that post!!!! However, this post does include at least 1 close up of some Iris shorts.....

These ones.
Wearable Muslin- Iris Shorts 1022 Colette Patterns 
These were made approximately 2 months ago before I got side tracked by my health. 
I picked up this polyester (?) fabric on an outing in April with my sewing class, it was cheap at $4.00 a metre and I fell in love with the colour. I ended up buying 3m of this and 3m of the same in ivory. 

I made a size 10 which turned out perfect. They sit just where I like them on my hips with plenty of room to jump in puddles if the mood strikes me. I used a continuous lapped zipper (a quick method taught by my sewing teacher) instead of an invisible one. For this muslin I made the length as per the pattern, unlike my second pair the Lisette Twill shorts in which I added an extra 2 inches. After wearing both I think I actually prefer the shorter of the two, they seem to be more flattering (despite my hang ups about showing my legs). All in all i really love this pattern, it is quick and easy to sew up, you can make them dressy or casual (fun summer colours here I come). 


 If I had any suggestions for improving the pattern it would only be this ...... if you follow the instructions regarding placement of lining fabric for the pockets as shown here.....


And your fabric is somewhat see through, it means that the lining fabric will show through. Of course it is easily solved by simply reversing the placement as shown below (although the photo has been taken from the wearers perspective).


I hope all that made sense. If not leave me a comment and I will try to clarify. Of course it is not a pattern fault but rather something to be aware of when choosing fabric or deciding if you should underline.


Also the pattern savvy seamstress will have noticed my Iris shorts are modelled with the lovely Renfrew Top, made some time ago and still going strong.

Sorry no close ups of the facing details or the insides of the shorts, but I am now back at work (having started my new job) and it is taking some time to adjust to the change in hours. I will let you know how it goes when I decide if I like it or not! My husband is credited (again) with all the above photos except the Lisette Twill shorts (which was taken by yours truly). He very kindly took them yesterday before I ran out to my sewing class in which my sewing teacher helped me hem my new jeans and fix a fly issue I was having with my Thurlow shorts which will hopefully be finished by the end of this coming weekend.

Thursday, August 16, 2012

Thurlow Shorts On The Cutting Table

Photo Credit: Darren M
Next up in my sewing queue are Thurlow Shorts 1203 by Sewaholic Patterns.
This one lives up to it's reputation of "The Pattern of Many Pieces" (ooh ok, I just made that up). I HATE tracing patterns, I procrastinate, I mope and sook- basically anything to avoid the act of tracing out a pattern. I hate cutting fabric out too, but not quite as much because I at least I feel like I have started, whereas tracing doesn't feel like I have made any headway at all.

Photo Credit: Darren M
But folks the good news is, I have completed tracing AND cutting on this baby, she is all ready to be magicked into the aforementioned wonderful.

I have chosen a cotton sateen (I think) for the main fabric in a grey and a whimsical poly for the lining.
I didn't realize until I cut the waistband facings, that my print will be sideways as it is a directional print. Not nearly as cute as I had planned. Also, the sateen has a small amount of stretch so I hope that will not be a problem for the overall fit.

I have decided to make the Thurlow Shorts the standard length without the cuffs, even though I think a second time round will see me make them 2 inches longer. I have also decided to omit the welt pockets in the back as I haven't made welt pockets before and know mine will turn out crap. I am not scared to try new things but I would like these shorts to be publicly wearable as I am trying to build my summer wardrobe since I am desperately short of clothes that fit (sigh).
As I am off for a little bike ride tomorrow, I am not sure when I will have these finished.

Till then...

P.S If you like my pattern weights and are interested, I was inspired by this tutorial. They have been finished for about a year now and no issues with rust.


Tuesday, August 14, 2012

A Shock, a Holiday and some Lovely Iris Shorts (Warning long post)!!!

Photo credit: Darren M

Howdy strangers.... it has been awhile. This is me in case you have forgotten what I look like... I have been absent for a good reason I promise. I have recently been diagnosed with Multiple Sclerosis after loosing feeling from my left shoulder down to the tips of my fingers on my left hand, this is my second flare up. The first being a case of Optical Neuritis 4 years ago, so 2 episodes and an MRI have confirmed that "Yes" I do have MS. It has taken a while for me to be "Ok" with this, during that time socialising and blogging  haven't been my thing. But hey, life goes on, things could be worse ......

Did I tell you that during the above period, I lost my job??? Unfortunately, the lease ran out at my place of employment and it was decided not to renew. Which was a shame, everyone was so lovely and supportive of me during such a difficult time and were generally just really lovely, funny people to work with. I did manage to get a new job, doing something different, which I am excited about. I haven't started yet.. my husband and I are having 2 lovely weeks holiday together (I think we have earned them).

During the first week we went South to Batemans Bay (that's in Australia folks), my Husband and I had our honeymoon here 2 years ago, so it was a bit like being lucky and having a second one.
It was so lovely to be by the coast, away from the cities, the people, the rush. To breathe fresh air and slow down.... enjoy every moment.

Photo Credit: Darren M

The first full day we took a walk around Broulee Island. Stopping to take in the views, visit the light house and explore the WW2 bunker.

Photo Credit: Darren M

Photo Credit: Darren M


(Strange little) Light House 


A school of fish going crazy....... where is my fishing rod??

World War 2 bunker

Bunker from outside
The next day ..... more coastline and a storm ravaged bay.


A late lunch included a surprise pod of dolphins.... One can be seen here (if you put your glasses on) showing the surfers how it is done.

Photo Credit: Darren M

On the last day we checked out early in the morning and headed home, via Berry. That is for Antique shops, a sewing shop and everything your heart desires (ahh, well probably not if your my husband). I scored vintage patterns, 3x Australian Home Journals from the 50's, a horse (plastic, sorry) and a new sewing case (from a children's toy shop). I nearly exploded!!!!! Oh me! oh my!

We are now back home enjoying the last week before returning to the workforce. I am spending part of that time cataloguing my fabric collection (I had no idea it was so big), I will post about that later this week.

Now to the last part of my post (yes, you have been patient) my Iris shorts.
This is actually my third pair that I have made. The first the horror red denim see here to relive. The second I have not posted about but they were made during the last few months, I will take some photos and post up with some more detailed shots of these ones and a proper review asap.

I made a size 10 (sigh) and lengthened them by 2 inches (I am not a fan of my legs). The invisible zipper was replaced by a lapped one as my sewing machine does not have an invisible zipper foot option. I have only just discovered the generic Brother invisible zipper foot fits my machine and haven't had the time to add it to my collection yet.
The fabric is a twill from the 2012 Lisette Spring Collection for Spotlight and Jo-Ann stores,  you can find the rest of the collection details here.

Photo Credit: Darren M

I used a quilting cotton for the facings and pockets. Michael Miller Eiffel Tower in Turquoise.
This is what the view looks like if you are wearing them


Before I go, I would just like to say......

A BIG THANK YOU to my wonderful husband for being so supportive and loving, and for cooking, cleaning and generally doing EVERYTHING for a while there. Thanks for a great holiday too, I had a wonderful time.
Said wonderful husband, Darren xx
I promise not to leave it so long before I post again. Thanks for checking in on me xx

Friday, April 13, 2012

Almost Iris..... Iris shorts


Almost Iris - With cute pocket.
In case you missed it... Sarai of the wonderful Colette Patterns released her Spring/Summer 2012 range the other day. While I love the 2 dress patterns Lily and Hazel, I am not really a pretty dress kind of girl, although I have to say my taste is evolving as I grow older and learn to sew more complex (ha) garments.. but I digress. Iris, now Iris blew me away......... I had, just HAD to have this pattern and since for the first time ever the 3 new patterns are available for download, I didn't have to wait 2 weeks for the mail to arrive (or pay international postage). How great is that?

So I got busy and downloaded Iris asap.... Now I am usually a board shorts girl because I like the longer length but I like this pattern because Iris just looks so pretty and she has inseam pockets!!!!! Love!!
I was super keen and cut and taped my pattern together right away. Cutting is quickest if you cut away the right hand side and the bottom of each page for easy taping together with minimal fuss.


I cut a size 6 as it corresponded to my measurements. My fabric choice was the left over red denim from my Minoru. I knew the denim would be difficult to sew in some areas of this pattern but I didn't have any other medium weight fabric handy, and well I wanted to make these shorts now!!!!

I was a very busy bee, all day long (beginner Sewist) but the pattern came together easily, instructions clear, pattern pieces match up where they should. It was all fairy floss and candy until I had one leg sewn and was ready to install the invisible zipper, I tried the old one leg in whilst holding the other side to see how they will look and fit - Iris does not fit me in this size. Boo hoo.


It was all downhill from here... I thought "Hey I have come this far, lets finish Iris anyway". I went on to install a faulty invisible zipper, then break the next invisible zipper.... at this point I gave up. The pictures are the way this Iris will remain.


I am not sure what went wrong size wise but no biggie, all I have to do is make the next size up. The fabric is left over from a prior project and if I really want red denim shorts (which I think I do) I still actually have enough left to make another pair.

Yes, that might be a broken (not) invisible zip and chipped nail polish or it could be a really cute inseam pocket with some gingham lining.
The bottom line is this pattern is really great, easy for a beginner, cute as hell and those pockets!!!! I LOVE these little pockets.


Dana

Monday, March 26, 2012

Six Foot Track

On the weekend my husband and I decided to take a stroll in the Blue Mountains. Destination Six Foot Track in particular Cox's River and the Swing Bridge.
It was breathtaking to be down in the valley.

A local farm on the walk in

Looking back at Narrowneck Plateau 

Rosehips!!!


Sections of the track cover private property, cool steps are provided to gain access over barbed wire fences. We even had to dodge some cattle on the way.


Cox's River

Swing Bridge
This was a great walk even though we only covered a small section of it. The Swing Bridge was not for the faint hearted as it does live up to its name.

Dana