Showing posts with label Completed 2012. Show all posts

Saturday, September 8, 2012

Jean Independence day - Not yet.

As promised next up on the sewing agenda was my version of Sewaholic's Thurlow Trousers 1203 but in the shorts (view B) version (confused? Me too). 

I loved Tasia's sample pair of stretch denim trousers as seen in her pattern introduction post, in fact these inspired me to make my own version and hopefully kiss goodbye to the dreaded task of trying on hundreds of pairs of jeans and never quite being happy with the fit. 

The first step in the process of what I will from hence forth call Jean Independence, is testing this pattern out on my lumps and bumps. I decided to go ahead with the shorts first to gauge fit, before cutting into the 3m required to make the trousers. I never quite fall into any perfect size chart. On normal patterns I am a 10 bust and 12-14 (usually 14) waist and hips. In sewaholic Patterns I am 6-8 bust, 8 waist and 6 hips. I decided to go with size 8 as I was concerned the 6 might be too snug around my waist. I also decided to skip the welt pockets on the rear and forgo the belt loops as I won't be wearing a belt with these shorts. I used a cotton sateen I picked up from spotlight for the main fabric (not sure about this choice as I have never sewn with this type of fabric before) and for the lining I am using a funky fabric called Foal Cotton, Poplin Magic.  The colour is a dark grey (and hard to photograph), so I thought this would be a good neutral colour to team with heaps of T Shirts and button down shirts (that I will make soon, haw haw).

The first few steps in the pattern making process are to do with assembling the front pockets, can I just say that this went together like a dream, so perfect and looking so damn professional. I did sew 2 rows of stitching at the base of my pockets as I am pretty rough with them being a hands in pockets kinda gal. 

Dual stitching lanes!

Front pocket detail.
Once I hit the fly it was kind of all downhill from there. As I have said before I am fairly new at sewing garments and this is most definitely my first ever pair of shorts/trousers that have included a fly. In all fairness to Tasia and the (intermediate level) pattern, the department that was lacking was me. I am sure that the instructions would be adequate if you had sewn a more basic pair of pants with a fly or mock type fly before or just had some sort of idea of how the fly comes together, and I am sure that an intermediate sewer would know this. Now I have made these once and have a feel for it, I am sure the second pair will be quicker and easier. 
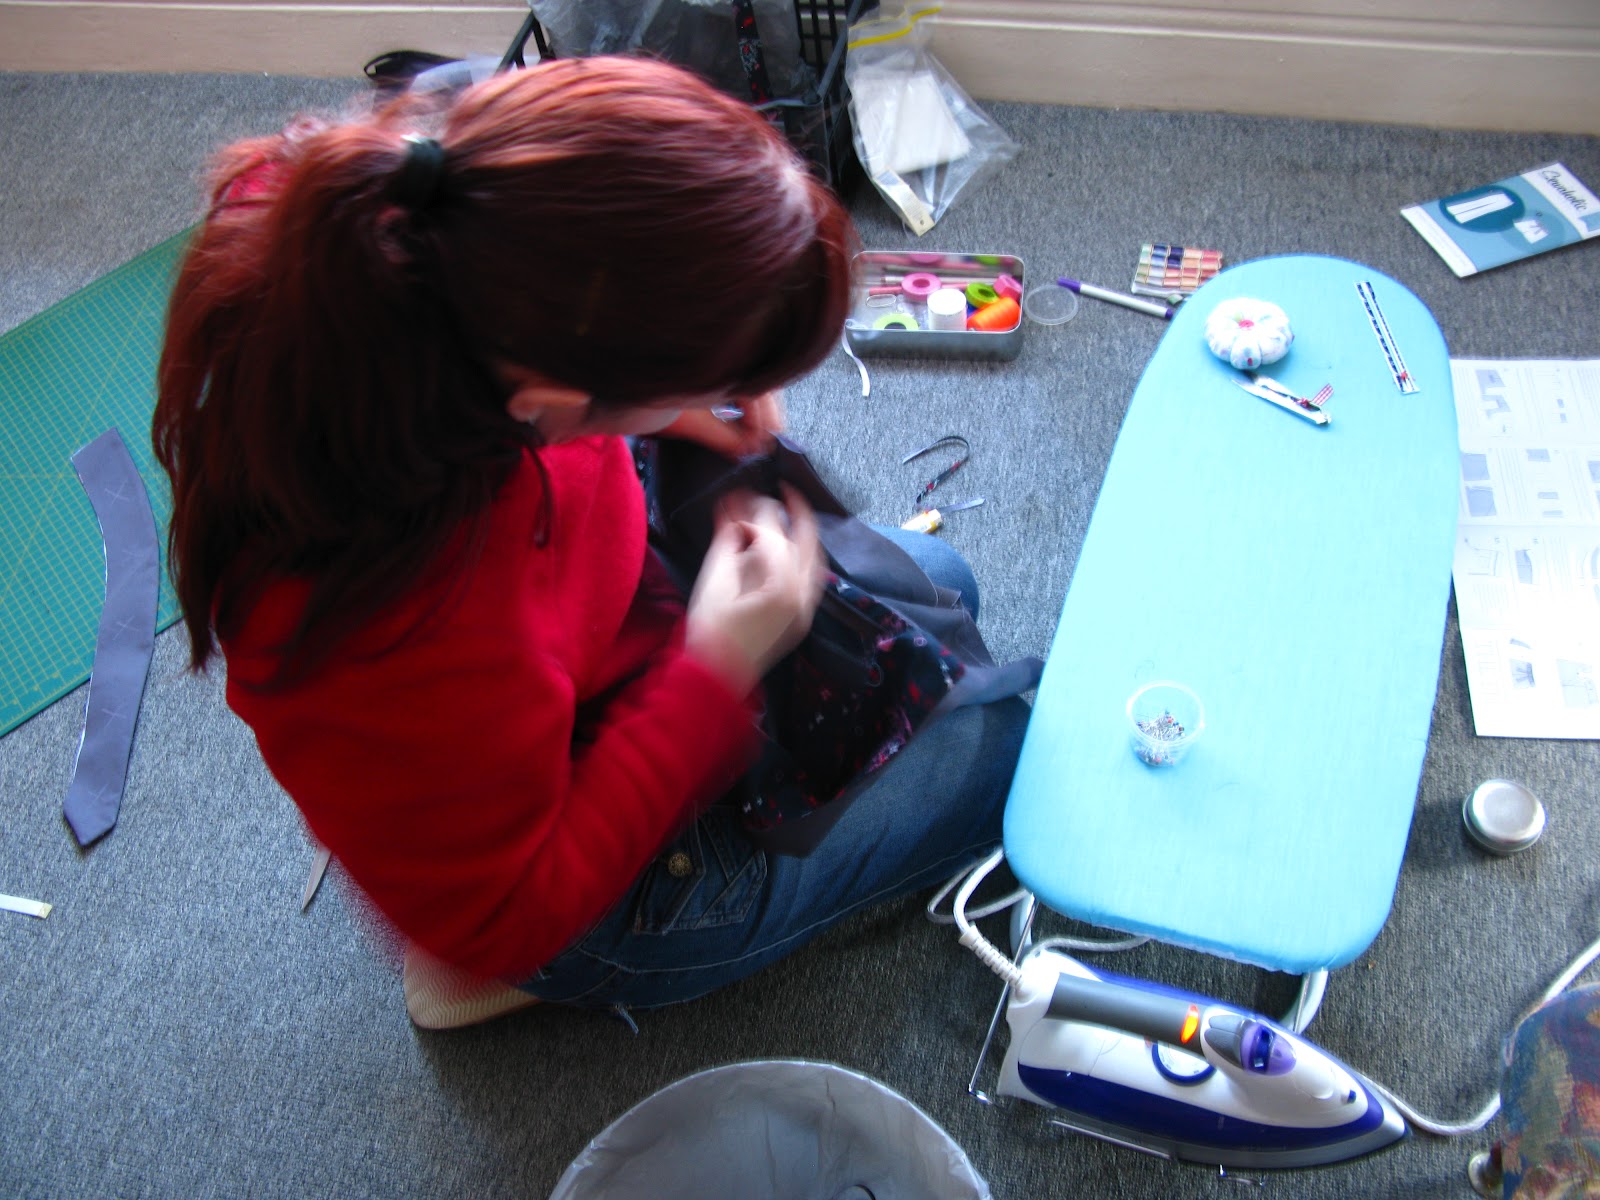
Help I am out of focus and out of my depth!!!!
(I don't normally pin and iron on this little board, in my lounge room but hey a change is as good as a holiday!)
Moving on my other issue was the fit, they are wayyyyyy to big. I ended up redrawing the sewing line at the rear from the bottom notch, angling it out to 1 inch from the original sewing line. This equated to taking 2 inches from the waist. I am not 100% happy with the look from behind (ha ha) but I am sure that is to do with the amount of fabric taken out and most likely the way in which I did it (and quite possibly the actual size of the rear) .  Next time I will make a size 6 and possibly still have to take some from the waist but I think the end result will be a better looking bottom!!! i might also consider ironing!!! 

Bottom too big? (mine that is)
All in all I think an advanced beginner would be able to handle this no problems if they had had some kind of trouser/fly experience or someone to refer to for help.


The finish ended up not too bad, certainly fine to wear at home or if brave duck up the shops for bread.

Any thoughts? Feel free to advise on all I did wrong and suggest improvements if you have any ideas.
I still love this pattern and plan on continuing with Jean Independence, but I might try a basic pair of pants first. Or hope Tasia does a tutorial on all the bits I got wrong (ie the whole thing).

On a brighter note here is a peak at my next project ......


 Have a great weekend!!

Dana


Wednesday, August 22, 2012

The Original Iris


In my last post I promised you close up details of my Lisette Twill Iris Shorts....... This is not that post!!!! However, this post does include at least 1 close up of some Iris shorts.....

These ones.
Wearable Muslin- Iris Shorts 1022 Colette Patterns 
These were made approximately 2 months ago before I got side tracked by my health. 
I picked up this polyester (?) fabric on an outing in April with my sewing class, it was cheap at $4.00 a metre and I fell in love with the colour. I ended up buying 3m of this and 3m of the same in ivory. 

I made a size 10 which turned out perfect. They sit just where I like them on my hips with plenty of room to jump in puddles if the mood strikes me. I used a continuous lapped zipper (a quick method taught by my sewing teacher) instead of an invisible one. For this muslin I made the length as per the pattern, unlike my second pair the Lisette Twill shorts in which I added an extra 2 inches. After wearing both I think I actually prefer the shorter of the two, they seem to be more flattering (despite my hang ups about showing my legs). All in all i really love this pattern, it is quick and easy to sew up, you can make them dressy or casual (fun summer colours here I come). 


 If I had any suggestions for improving the pattern it would only be this ...... if you follow the instructions regarding placement of lining fabric for the pockets as shown here.....


And your fabric is somewhat see through, it means that the lining fabric will show through. Of course it is easily solved by simply reversing the placement as shown below (although the photo has been taken from the wearers perspective).


I hope all that made sense. If not leave me a comment and I will try to clarify. Of course it is not a pattern fault but rather something to be aware of when choosing fabric or deciding if you should underline.


Also the pattern savvy seamstress will have noticed my Iris shorts are modelled with the lovely Renfrew Top, made some time ago and still going strong.

Sorry no close ups of the facing details or the insides of the shorts, but I am now back at work (having started my new job) and it is taking some time to adjust to the change in hours. I will let you know how it goes when I decide if I like it or not! My husband is credited (again) with all the above photos except the Lisette Twill shorts (which was taken by yours truly). He very kindly took them yesterday before I ran out to my sewing class in which my sewing teacher helped me hem my new jeans and fix a fly issue I was having with my Thurlow shorts which will hopefully be finished by the end of this coming weekend.

Saturday, March 17, 2012

Linen Sailor Jasmine

I attend a sewing class 1 night a week. It is really less like a class and more like a sewing night with help as we do not work to a schedule but rather just take in whatever pattern we wish to work on. We have a teacher who makes sure we are doing everything correctly and is there for help when we have questions. I like to separate my sewing class projects from my at home projects, generally not working on the class items at all during the week at home.

Term 1 is almost over and I only managed to finish 1 project so far. I did take an entire class to cut out my pattern pieces because I talk to much! I made a Jasmine 1018 from Colette Patterns having picked up the Colette Sewing Book and pattern package shortly after Christmas.
My Jasmine was made out of red linen with a tiny houndstooth pattern, the collar/tie and sleeve cuffs were made from the same fabric in a navy which I joked would either look great or make me look like a 5 year old boy. I made version 2, with the shorter tie.

I made a size 6 without making a muslin for fit. It was the first project I have ever made on the bias. I was quite concerned about cutting everything correctly but had no problems at all thanks to my teachers explaination. I had read horror stories about pulling fabric on the bias and ending up with an out of shape Jasmine but thanks to prior warning I was extra gentle and avoided any such problems.

This is the outcome......
Not keen on having my photo taken :(


I am not entirely sure if I love it or not. Perhaps a second opinion would help? The ladies at my class quite like it, I am sure I would be sold if I had made it in something recommended fabric wise, but alas I never listen. I had never used linen before and just wanted to own something made of it. The tie sits somewhat stiffly because of the drape of the fabric. Looking at other Jasmines out there, mine is pretty big, maybe comically so? I am sure I could go down a size no problem.

I have picked up a lovely cotton lawn to make this again but perhaps Version 1 with the longer ties and gathering at the sleeves? Yes, I think so.

Dana

Thursday, March 15, 2012

Minoru Completed! A labour of Love.


Yahooo, finally I have completed my Minoru Jacket. It was a tough day in the sewing room today but we made it.

Today I started from step 15 alternative to slipstitching cuffs to completion. Step 15 nearly killed me, death by pins in the tips of my fingers, that is until I came to my senses and basted the sleeve lining. Then life became a little easier.

Next was stitch in the ditch, and an all new nightmare begun. I will confess to doing this step 4 times before giving in and stitching over the top stitching on the hood piece, it looks okay, not as good as it should but I can live with it. My problem was my main fabric was red and the lining was ivory, if I used only red thread and the line got a bit wonky (lots of people found this happened due to layers) the red line showed on the lining. I changed to ivory thread in the bobbin and I wandered onto the red hood. Now I know I can sew a straight line but this step, I hate to say...... whipped my butt.

Finally I was at the waistband stage, now I thought this might be difficult but really the hardest part of the waistband was locating some 2 inch wide elastic!!! But I managed to find some, so I breezed through this step, I even had time for a quick cup of tea.

And finally we arrive at hemming and done. This bit was pretty easy on the central back piece but I found my jacket hem wanted to pull out of shape a touch on the side back panels. I also had to trim the bottom of my pocket as I had put it in just a touch to low, but they are still very much usable and still a good size for my hands.

End result: I love this jacket and cannot wait to be able to wear it. Bring on a cold Winter!!!
Would I make it again? Yes I think I would, but not out of denim, in fact I would like a charcoal one to wear to work.


My fringe is not really like this!!! It was windy.


Can you see my pockets?????


I was so excited to finish I begged my husband to go down to the park to take a few quick snaps. The colour seems hard to capture in a photograph and I am straight from the sewing room. It is still quite hot so I did look funny to people passing by.

Also a quick note if you head on over and visit Noile she has posted Minoru Jackets from around the world..... and I made it on her post Whooo Hooo (prior to jacket completion of course).

Dana

Monday, March 12, 2012

Renfrew Top Take 2

A few weeks ago (or there abouts) I got around to making another version of the Renfrew Top from Sewaholic Patterns (to see the first version click here).  I really like "V" neck tops, I have always thought they look nicer on me than the "rounded" neckline. I have actually made 2 versions of the "V" neck. 

The first V neck I made in size 6 (no pictures sorry as it made in the same fabric) but I must have been tired when tracing because when I was making this version and comparing pattern pieces I realized that the waistband was a size 4. Although the first V neck is wearable and fits, I prefer version 2 (pictures below).

In both versions I had some difficulty sewing the "point" of the V. I figure next time I might baste it into position first, to stop any slight shifting when sewing the band on. You can see in the close up below that they are just a bit off centre.


Although I have an overlocker I still prefer to sew the Renfrew on my sewing machine, using the overlocker to finish the seam allowances only.
I know there has been a post or two out in blogland saying that the zigzag stitch looks a little homemade but I have no objections. I used the zigzag detail on all the bands for strength and a more consistent look.


This version is a size 8 and loose enough for my liking.


I did try to take some photos of myself wearing this version, but was not keen on the results. Next time perhaps?

This fabric is just a plain Jersey knit from spotlight. I picked up a large quantity for $2.50 a metre so expect to see the next few Renfrew tops in the same fabric. As Winter is on the way I will most likely experiment with a 3 quarter sleeve and possibly the cowl neck version.


Thursday, February 2, 2012

Renfrew Top

Hi everyone, sorry about the lack of posts. Yes, I am still sewing along with Tasia in the Minoru Jacket Sew-A-Long but we are at a bit of a road block. I will take a few photos on the weekend and write an update on the jacket progress thus far.

In the meantime can I introduce you to another of Tasia's patterns?
The Renfrew Top from Sewaholic Patterns.

Click to go to the Sewaholic pattern store

I received my copy in the mail late last week and have been itching to make one up. I only had a metre of 150cm wide (60") knit fabric in my rather small stash so it was neck line view A with sleeve length view B that I made up this afternoon. The pattern recommends more fabric than this, and I did really squeeze it out.

Front View
A closer view of cuffs and neckline
(sorry about the wonky photo)

Waist band

Overlock (serger) detail. (hmm, my hands look old in this photo)

Back view
Sorry I know the photos could be better. I was excited to finish but it is just about my bedtime and  so they are quite dark.

I made size 6 as the measurements were pretty spot on for me. After making this version I might try the next size up if I purchased fabric with a similar amount of stretch. I would like a fraction more room in the bust and hips. Having said that, this probably fits me better than any store brought Tee I have purchased in a long time.

This Renfrew was sewn on my sewing machine using a zigzag stitch, seam allowances were neatened up using my overlocker (which I am still trying to master). 

Very happy with the outcome, I will definitely make again. Next time the V neck perhaps.

Happy sewing peeps
Dana